Make Hollow Cylinder Bead from Metal Clay
- Megha
- Jan 14, 2019
- 3 min read
Updated: Jan 17, 2019
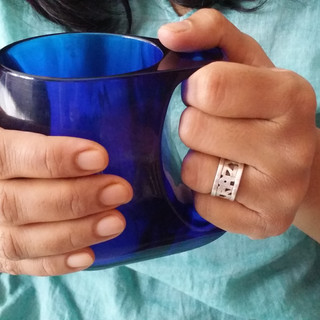
With this technique of creating hollow shapes from Metal Clay (Here silver Clay), you can create chunky jewelry pieces or accessories which are lighter. Hollow piece becomes lighter in weight. Thus, it’s good for the wearer and you can minimize the use of metal clay as well. #metalclay #tutorial #method #texturenglint
Let’s begin!
Make sure following things are with you to create hollow cylinder shape metal clay beads.
· Tools for rolling clay
· Metal clay flat cutter
· Cylinder base of preferred thickness/diameter
· Meta clay paste (to join two surfaces)
· Circle stencil or cutter (to make cylinder ends)

We’ll need a flat rectangle sheet to begin with. Take desired amount of metal clay.
Roll your metal clay in thickness of 1.5mm. (Check basics of rolling metal clay)

We will surely apply the texture to the bead. It will make the design more interesting. Let’s first prepare the texture for the bead. That will create the body for the bead.
Apply texture to the rolled sheet. I used texture sheet for that. There are many ways to apply texture. (I’m coming up with that post soon).

Now cut the texture sheet in rectangle shape with blade. Decide the width of rectangle beforehand.
The width of rectangle will decide how long will be your bead.

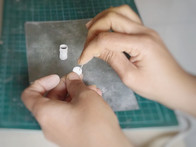
Take the cylinder (preferably plastic). The thickness of the cylinder will be the diameter of you bead, so choose accordingly.
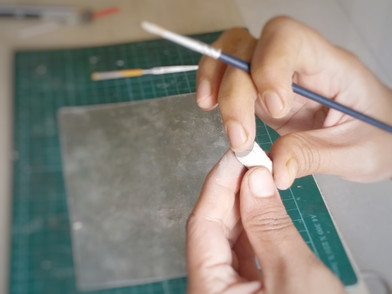
Lightly grease the cylinder with oil. Now wrap the textured clay sheet around the base cylinder.

Cut the sheets where they cross each other. Here you have to cut them exactly at the overlapping point. Keep them as adjacent as possible. Apply some clay paste to join them.
Allow it to rest (may be 1 hour). Now quick dry the cylinder. Let it be little warm and then remove the clay bead from the cylindrical base.
You have the basic textured cylinder base for bead. Sand it a little to adjust the texture at the joint. Check inside of bead and apple clay paste as needed. This makes the joint stronger and there are less chances of crack or breakage after firing. Here also you can let the bead rest for some time or you can proceed to quick dry, depending on the time in your hand.

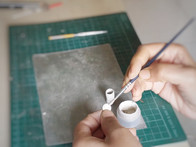
Go back to the design you want create using this hollow bead. I wanted to cover this bead from one side only so I cut the circle using stencil only once. If you want, cut two circles to cove the bead from both sides.
Join bead ends. Lightly sand the edges of both cylinder and circle disk. Apply generous amount of paste to the edges (you can’t apply paste here from inside) and join them. Do it both sides. Dry the bead again.


Dry(bone dry) the bead according to your preferred method. Leaving clay piece overnight is better but humid weather like Singapore doesn’t allow me to do that (but blessed to see rain almost daily! J). I prefer hairdryer for drying clay pieces.
Drill the holes in the bead ends. We would love to string the silver bead to some interesting necklace. Pierce or mark the hole when clay cut out is wet. It makes it easier to drill while after clay is dry.
Apply clay embellishments of your choice like small clay cut outs, silver balls or lines. Apply small amount of paste and join them. Here, I didn’t apply any embellishments and move to quick drying. After final sanding, fire the bead according to the firing schedule provided by manufacturer.

Here is my half bead as i covered it from one side only.
Learn this method to make hollow pieces from metal clay and let your imagination fly......


Comments